Wallpaper has very long been a stalwart of interior layout, with its historical past entwined with some of the most influential names and distinctive types since the 1800s.
From William Morris’s floral designs to the bold designs and wealthy tones of the 70s and today’s obsession with Residence of Hackney’s flamboyant models, wallpaper can instantly provide a area with character and fashion.
Nevertheless, acquiring your mitts on these types of wallpaper can sometimes be a little difficult. Minimal version prints, price per roll and the talent (and patience) expected to place it up can all get in the way.
But, what if you could develop your own? Now, we’re not suggesting enterprise the prolonged approach of coming up with, printing and pasting your have sheets of wallpaper, but with a stamp of your option, some paint and a steady hand, it is easy to develop the exact same influence.
“Wallpaper appears wonderful, but I also adore the glance of making a little something completely of your own making use of a stamping technique. It is genuinely organic and natural to produce your very own style and design, even nevertheless it does acquire a great deal of time,” Olive Chittenden, co-operator of Glebe Household in Devon (which is effectively recognized for its creative interiors), tells Stylist.
“We ended up going to use this plan in Glebe Home, but we didn’t get a prospect in the finish. I have attempted it in my individual home, however, and I enjoy it.”
To consider some of the guesswork out of the equation, we gave the technique a go, and we’re in this article to share our learnings on how to reach this very simple but productive decor hack at house.
Devices: what I made use of to Do it yourself my living space walls
System: how to create a wallpaper outcome with paint and a stamp
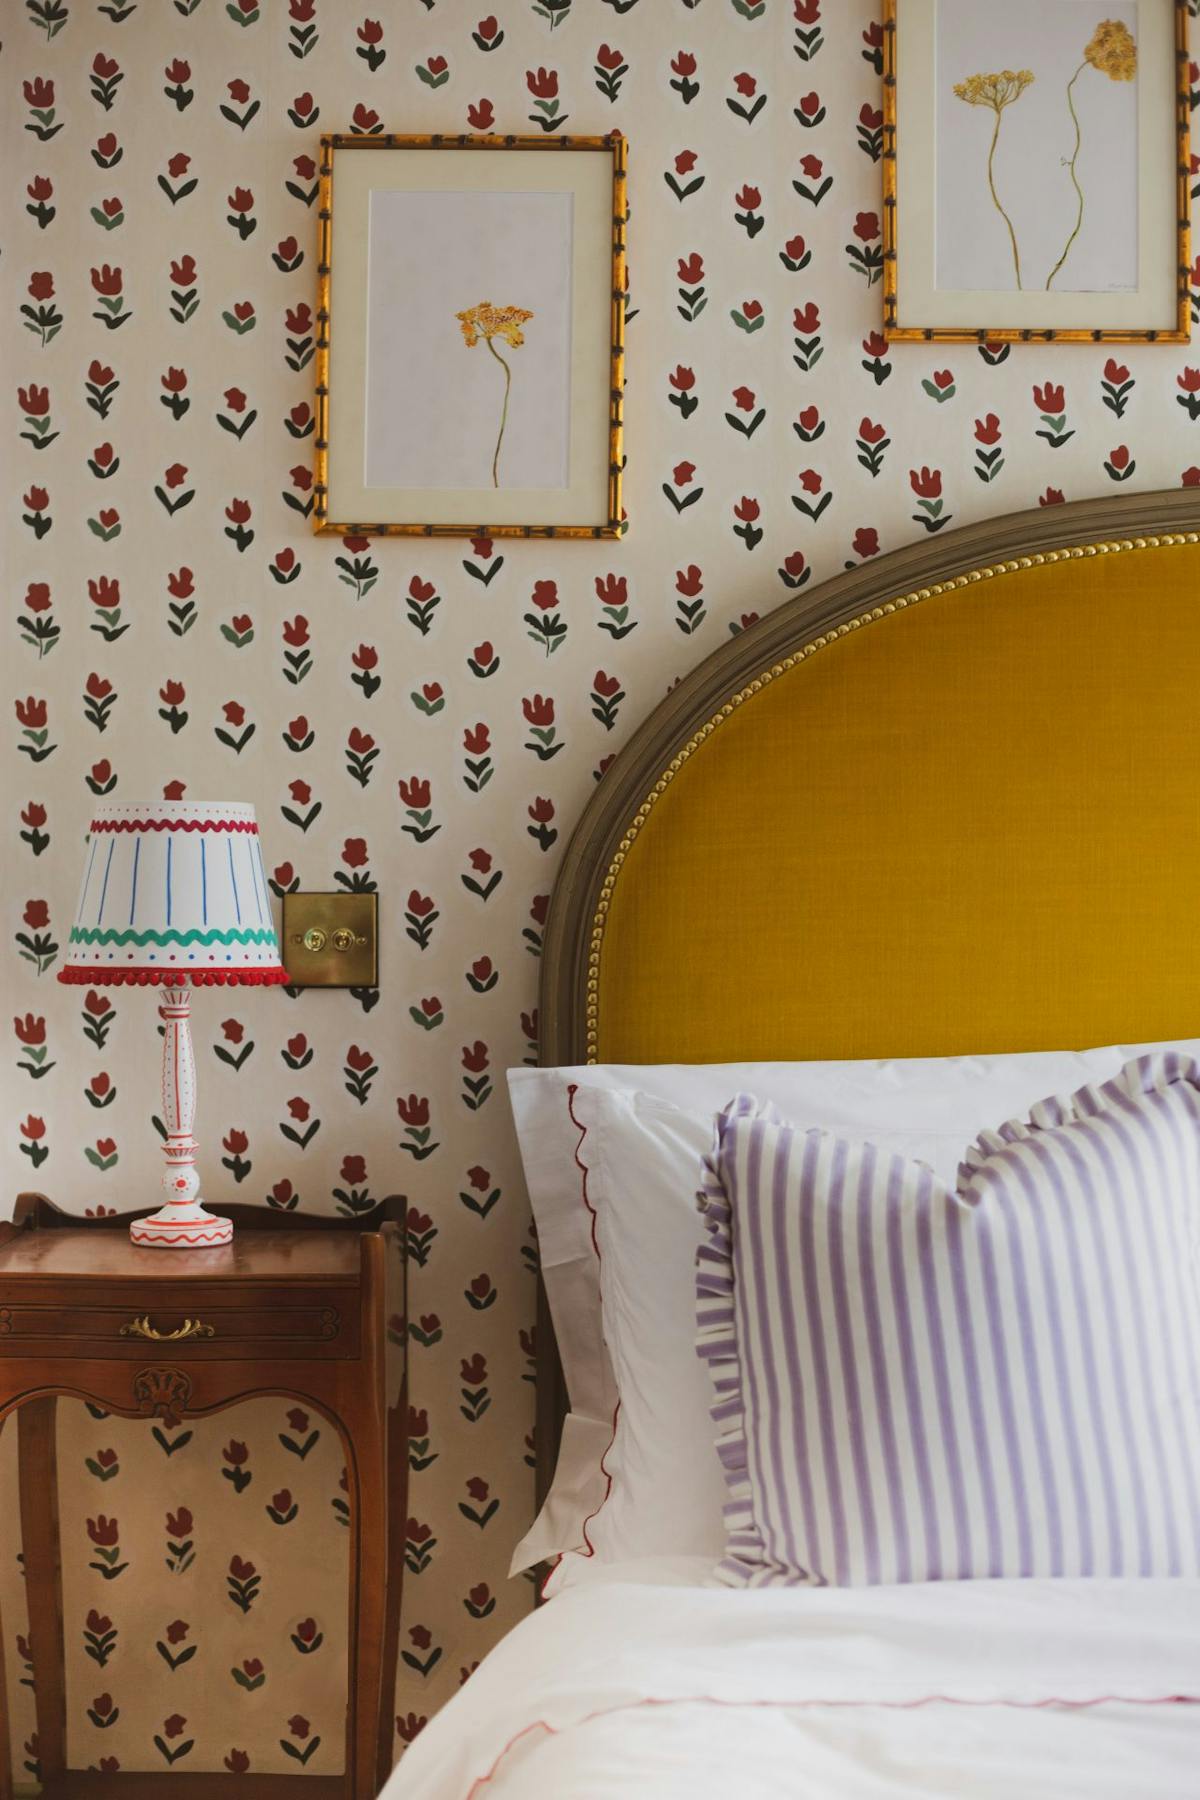
Stage 1: make your mind up on a stamp and pattern
Initial of all, you will will need to consider whether you want to protect the full wall or just a part. Imagine about how hectic the pattern will be and how big you would like the stamp to appear. It’s possible you want to use much more than 1 stamp to create a scene or blend of shapes.
Think about your design and style and then choose your stamp – I’m a huge admirer of the English Stamp Business (which is also Olive’s model of preference), which has a breadth of stamp shapes.
In this occasion, I selected a spring-encouraged tulip design and style, but the opera star and seashell assortment have been shut seconds.
Move 2: choose your colour plan
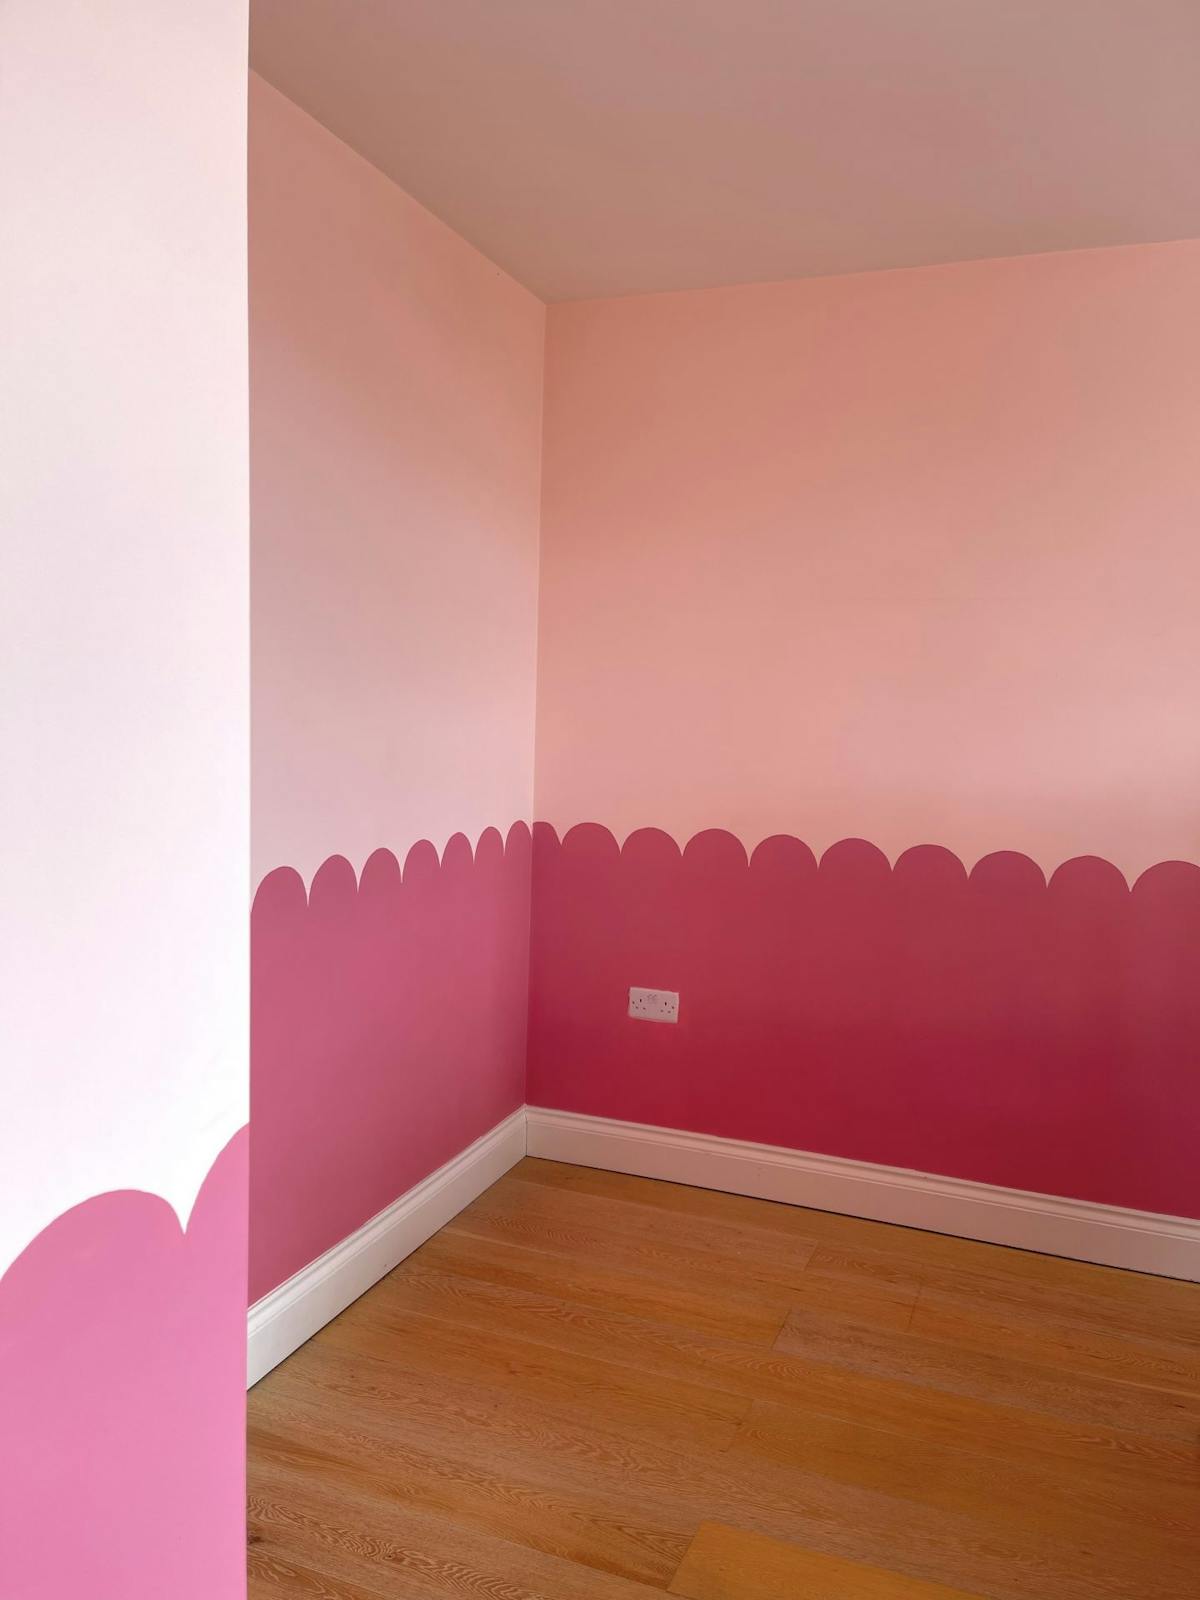
To give the complete room a makeover and so function with the spring floral concept, a lively eco-friendly paint named Tequila Environmentally friendly in Just Matt from impartial, sustainable paint brand name The Pickleson Paint Co was an exciting decision to give the partitions a vibrant update.
Using this color to outline the scallop edge border all over the full room – and for the leaves of the tulip stamp – gave a refined link between the prime and bottom halves of the place to deliver it all with each other. The colour of choice for the tulip’s petals, however, was ‘Nancy’s Blushes’ from Farrow & Ball.
Action 3: get to grips with arranging your pattern
After you have determined on your stamp, you want to make your mind up how to organize it on the wall. I discovered that it was simplest to photograph starting off at the furthest edge of the wall and printing in vertical lines, a person at a time.
Consider a dry, cleanse stamp and a spacer of your decision (we employed a roll of masking tape). Hold the stamp to the wall and pencil mark at its foot. Then area the spacer over the stamp and a make pencil mark there – this is exactly where the foot of the next stamp will be printed. Repeat, operating your way up the wall for the wanted amount of place.
To stay away from your design and style wanting a very little much too uniform, situation the stamps in the up coming vertical line a very little greater than the types on the preceding line. I utilized the same approach to mark the wall, even so, where by there would be a stamp on the previous vertical line, I still left it blank as an alternative. It appears meticulous but it’s significantly improved than making use of random or inconsistent measurements if you want a polished seem at the conclusion.
Step 4: practise on paper
You are going to need to practise right before stamping onto the wall, so use a significant sheet of paper, mount board or even a portion of the wall that will be painted over to give your sample a go.
If printing on to the wall, check out to make the paint as slim as achievable so it doesn’t present by means of when you address it later on. Use these exams to get employed to the amount of pressure you want to place to get the quality of print you’re hunting for.
Step 5: get into place
Okay, it’s time to get likely. Position yourself at the significantly edge of the wall and get ready a very little machines station to make the course of action much easier. I made use of a chair to lay out a tray with paint, a paintbrush, the masking tape spacer and a pencil.
Step 6: Load up your stamp
There are a few ways to do this. For an even paint distribution, use a quite small paint roller to protect the stamp.
The flower style built points a little additional complex as it essential introducing two individual colors to the stamp. So, as a substitute, I applied paint brushes – the outcome was a lot more rustic as it’s more difficult to get even distribution.
Some suggestions: use as small paint as attainable and try to remember that the dips and holes you see on the surface area of your stamp are the damaging area detailing that you are going to see on the wall, so really do not allow paint pool in these parts. Also, really don’t let the paint sit on the outer edges of the stamp, due to the fact this will add clumps close to your style and design.
Stage 7: get started stamping
It is significant to consider to keep your stamp upright and amount. To make this less complicated I made use of a spirit stage to mark the major of the place and then aligned the major of the stamp to it just before pressing it onto the wall.
Press the stamp on to the wall with business, even stress – try out not to lean on one edge more than the others. And, finally, be confident! The worst thing that can happen is that you need to have to repaint a few parts but most interior paints are water-based and can be rubbed off with a damp cloth if there’s a slip-up.
Stage 8: model the search
Your wall will normally look better when styled with some of your favorite homewares, but if you are seeking for some inspiration, acquire a leaf out of my guide. I selected styling parts that would perform for a pale pink and green combo. The dusty pink Otha desk lamp, Manufactured, £75 will suit into most spaces thanks to its common attraction ceramic foundation and amazing, curved shape. Decorative dinner candles are a pattern that won’t be going absent at any time shortly, and I adore these twisty types from Hay, £22.