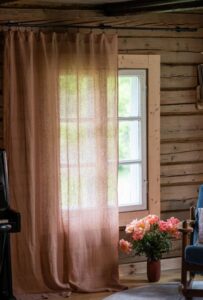
Lovers of classic or antique wooden home furniture know that these more mature items come with some trade-offs. For instance, older, sound wood home furniture was designed to last—unlike fashionable particle board counterparts. But due to the fact of this, it can be incredibly significant (i.e. challenging to shift), and be quite pricey if it is in pristine issue.
Which is a different aspect of the trade-off: Home furniture that was made to be all over for a lifetime (or even numerous generations) may possibly stay strong, but if it is remaining employed frequently, it will probably accumulate scratches, dents, and other marks in excess of the years. The upside of this, however, is that it usually means you can score some incredible classic wooden furniture—scratches and dings included—for low (or at minimum reasonable) costs.
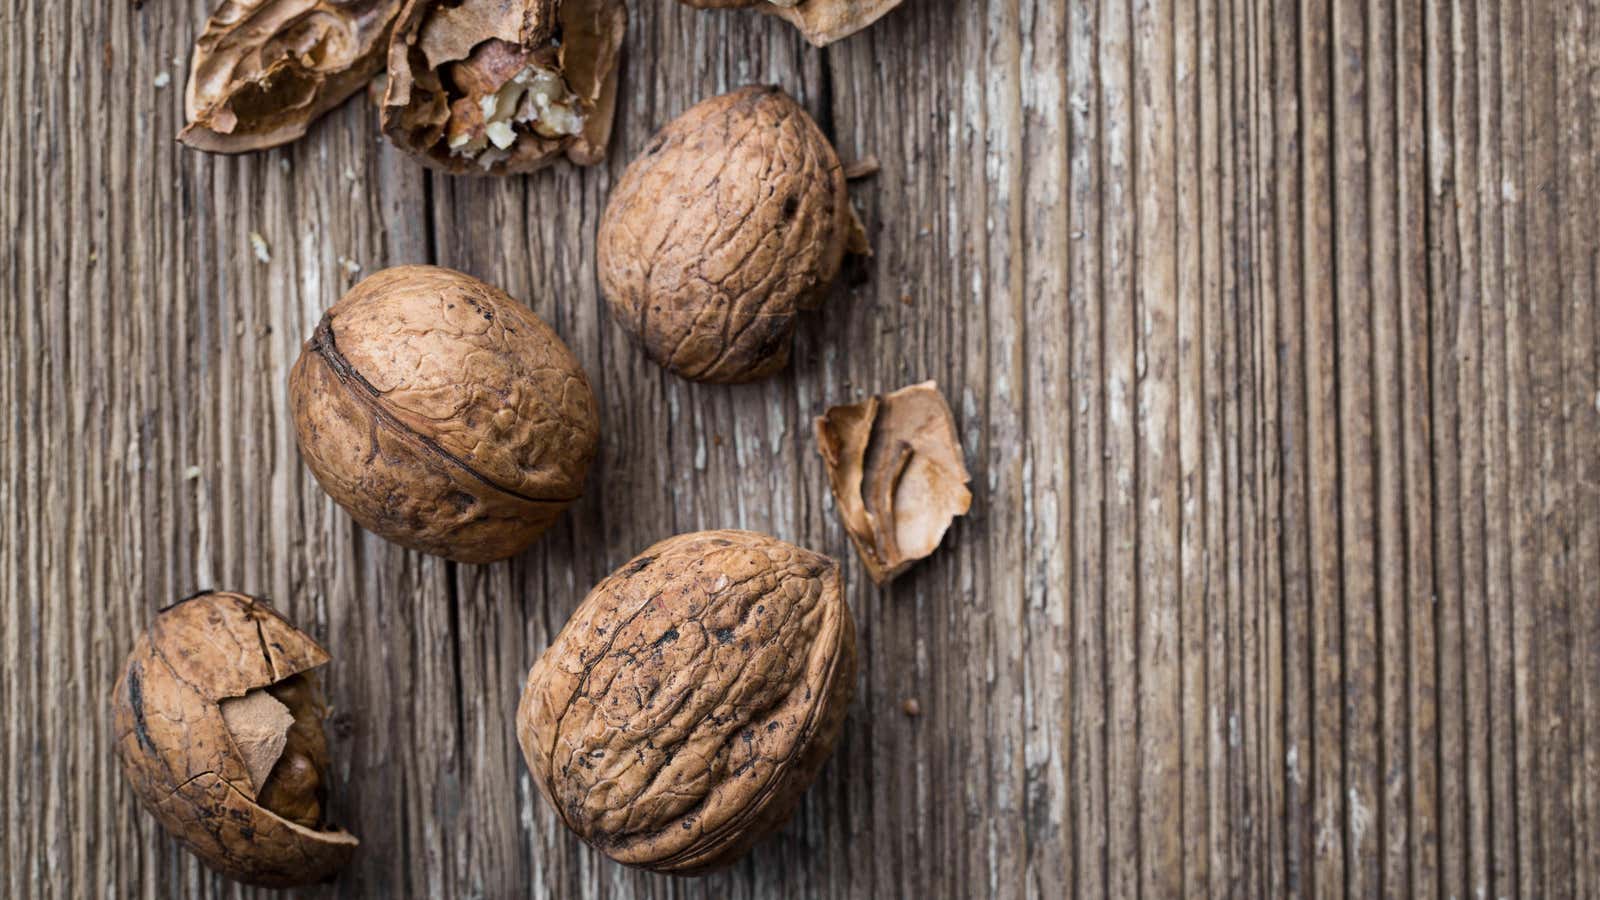
If the scratches and other imperfections and symptoms of use bother you, there is usually the solution of refinishing the piece. But if you are primarily fantastic with them—or would be satisfied by one thing that can make the scratches appear appreciably much better but not absolutely great, and is infinitely fewer work—you may perhaps want to get your fingers on some walnuts. Here’s what to know.
How to fill in scratches on wooden home furniture with walnuts
Prior to we start, let us start out by saying that the walnut trick is not heading to give you best benefits and make the scratches disappear fully. Also, we are informed that this is not a skilled or lasting solution. It is, however, a cheap and quite minimal-effort way to make your wood furnishings glance greater, and is Bob Vila-authorized.
Here’s what to do:
- Crack open up a walnut. (Or easier but, invest in some that are presently de-shelled.)
- Rub the nut about/into the scratch in the exact direction as the grain of the wood right up until it seems/feels like it is stuffed in.
- Rub your finger about the nut-crammed scratch to heat up the wooden and launch the oils of the walnut.
- Allow it sit for about five minutes.
- Buff out the scratch using a clear, tender fabric.
Does the walnut trick in fact get the job done?
Right after seeing so many dramatic before-and-after pictures of these walnut transformations, I wanted to see if the trick truly provides people final results in authentic everyday living. So, I tried using it out on an stop table and a desk (each current estate sale purchases), and in this article are the results:
Top of conclusion table right before:

Leading of end desk soon after:

Aspect of desk prior to:

Side of desk after:

Admittedly, the walnut trick worked far improved than I had predicted, and generates first rate cosmetic benefits. With that in mind, below are a couple of observations and ideas dependent only on my personal knowledge:
- Right before you get started rubbing, peel the brown skin off the surface area of the walnut meat. It not only will get in the way when you are trying to fill in scratches, but it can also get caught inside scratches and dings and make them look more seen than when you begun.
- This trick is considerably far more effective on shallow, area-degree scratches than it is on just about anything further than that. This is rather apparent in the photographs of the end desk. The scratches on the facet of the desk were, for the most element, surface-stage, so the walnut created much more of a variation.
- Don’t worry about the shade of the walnut matching the color of the wooden. In accordance to the Bob Vila article, “the oils from the nut will type a layer around the scratch, filling it in and darkening it,” and that was my experience when I tried it.
- Be absolutely sure to get the time to rub the walnut in with your finger right before letting it sit and then buffing it out. The only color-matching difficulty I had was when I skipped this stage.